The ideal exercise bike resistance level depends on your fitness capacity, so there’s no one-size-fits-all answer. It also depends on what kind of exercise you want to do. For example, simulating flat-road cycling indoors requires a different resistance level than pedalling uphill.
Let’s identify the general resistance levels of most exercise bikes, so you can determine which suits your capability. I’m also sharing a guide to help you gauge which resistance level to start with or use.
What are the Different Stationary Bike Resistance Levels?
It may seem like a minor issue. However, not knowing what resistance level to use while cycling can lead to workout problems.
For instance, insufficient cycling resistance may not give your body good exercise. It may take you longer than needed to achieve your fitness goals, like weight loss, muscle build-up or enhanced stamina.
Accidents during indoor cycling workouts are also more likely with improper resistance levels. Too-low resistance may cause you to pedal fast and lose control of your stationary bike.
Similarly, too-high resistance can potentially overwork your muscles, resulting in injury. If you put too much effort into the pedals, there is a higher chance for you to cycle with poor posture, too.
So as not to waste workout time, delay your progress or injure your body, understanding how to adjust your cycling resistance is essential.
Below are 3 different resistance levels you should know.
1. Low Resistance for Flat-Road Cycling
Low resistance on a stationary bike is suitable for beginners or those with knee issues. That’s because, in this setting, you’ll need minimal effort to turn the pedals. The level will still vary depending on your fitness capacity.
The best way to understand this setting is to picture yourself riding on a flat road. It is approximately between the lowest and highest resistance settings of your bike. You can use low resistance during your warm-up or cool-down phase, too. It’s also a good level for interval training in between intense pedalling.
2. Medium Resistance for Hovering
To “hover” on a stationary bike means to lift your butt off the saddle while pedalling. You’ll be in a semi-standing position, with your upper body leaning lower towards the handlebar.
At medium resistance, your body has to be in hovering form to give your legs more power to push the pedals hard. You’ll also notice that your pedalling action is different at this resistance level. It is as if you are jogging or going up a small hill.
You should also feel more pressure on your legs, making you unable to pedal as fast as you would in a low-resistance setting. Medium resistance is a few levels higher than your low-resistance mode. But again, it should be based on your fitness level.
It is a good resistance level on a stationary bike for those who want to develop specific muscle groups, like your legs or glutes. That’s because hovering on the bike is a form of isolation. It’s a technique that freezes most body parts to let intended joints or muscles absorb all the force from the exercise. You can also use medium and low resistance settings in an interval stationary bike workout.
3. High Resistance for Uphill Climbing
High resistance should feel very heavy on the legs, almost as if you’re cycling up a steep hill. At this point, your settings should be close or at the highest level of your indoor bike.
This resistance may not suit beginners or those with joint conditions. You would have to attain ample body strength first to pull this off. Similar to medium levels, you will be semi-standing while pedalling on high resistance.
Also, your cadence will be even slower than your low and medium settings. You’ll rely more on your core strength to keep you stable on the bike while pushing with your legs. If you want, you can try pedalling on high resistance while sitting. However, it would be hard to do without the assistance of your body weight.
While challenging, pedalling at high resistance is an excellent strength training exercise for the lower body, especially the legs. Athletes who use lots of leg power in their sport will benefit more from this resistance setting.

How Will I Know which Stationary Bike Resistance Level is Best?
Learning about the different bike resistance levels is one way to know which setting suits you. The more accurate way to do it is to test and feel them yourself. Let your body be your guide on which resistance you should be using. Specifically, use your effort and cadence as your reference points.
Below are 2 ways to do it.
Cycling Effort
Cycling effort is all about the physical strength you need to execute an exercise correctly.
Start by pedalling at the lowest resistance setting of your bike and assess how it feels. Gradually increase your level until you reach particular points where you feel like cycling on a flat road, jogging or climbing uphill. Take note of these. That way, you know what adjustments to make during your workout.
You can also use the rate of perceived exertion (RPE) scale to gauge your effort against the resistance. While doing this effort test, make sure to listen to your body. Also, use this time to be familiar with your indoor exercise bike. You’ll need both skills each time you adjust your settings as your body gains more strength.
Cycling Cadence
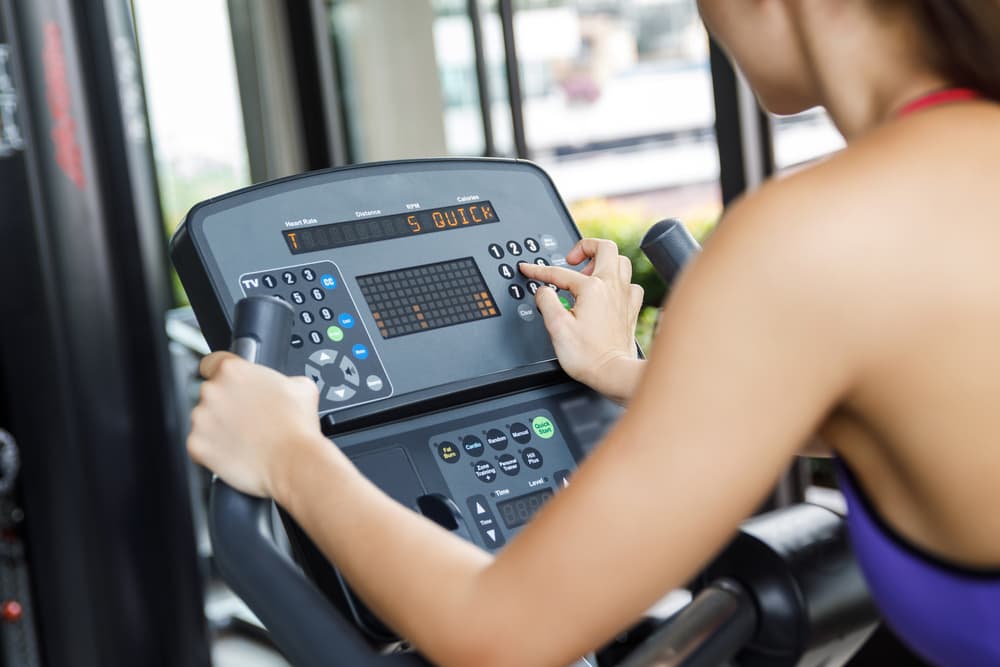
Cadence is your pedalling speed, measured in revolutions per minute (RPM). This reference point is more objective as you can easily track it using your stationary bike digital monitor. Remember that your cadence goes slower as your resistance setting increases.
So, if your program calls for 70 to 80 RPM, adjust your resistance, then check your monitor to see if you’re hitting your target cadence. If not, that’s your sign to adjust your resistance until you balance your effort and speed.
Bottom Line
Cycling workouts or fitness instructors can provide or suggest a good resistance level to work on a stationary bike. Ultimately, it is your ride, and everything relies on what your body can do for now.
So, don’t feel pressured or discouraged if you cannot cycle well at recommended resistance levels. Everyone has to start somewhere, and your body will progress in time at your pace.
What’s important is that you work out on an exercise bike with a wide range of resistance levels to match your fitness capacity. Look for indoor cycling bike features that guarantee an efficient and comfortable ride.
Related Questions
1. Does higher bike resistance burn more calories?
Generally, cycling at higher resistance burns more calories. The more effort you put into the exercise, the higher your caloric burn rate will be. Also, higher resistance pushes your muscles to work harder, and increased muscle contraction leads to more energy use. Aside from effort, cycling duration is also equally important when burning calories.
2. Is it better to cycle faster or with high resistance?
Choosing between cycling speed and resistance depends on your fitness goal. For instance, pedalling faster reduces the stress on your legs, redirecting it to your heart and lungs. However, if you intend to build muscles and strength, pedalling at higher resistance is better, as it is more akin to weightlifting. Learn more about which muscles get worked on a stationary bike in this article.
3. Do smart bikes have more resistance levels than regular ones?
Modern exercise bikes offer almost the same resistance levels. But usually, smart bike models, like the NordicTrack Commercial S22i Studio Bike, can automatically adjust the resistance or incline for you. On the other hand, regular stationary bikes require manual operation. The choice boils down to your preference. But remember, smart bikes are high-tech machines that typically cost more.