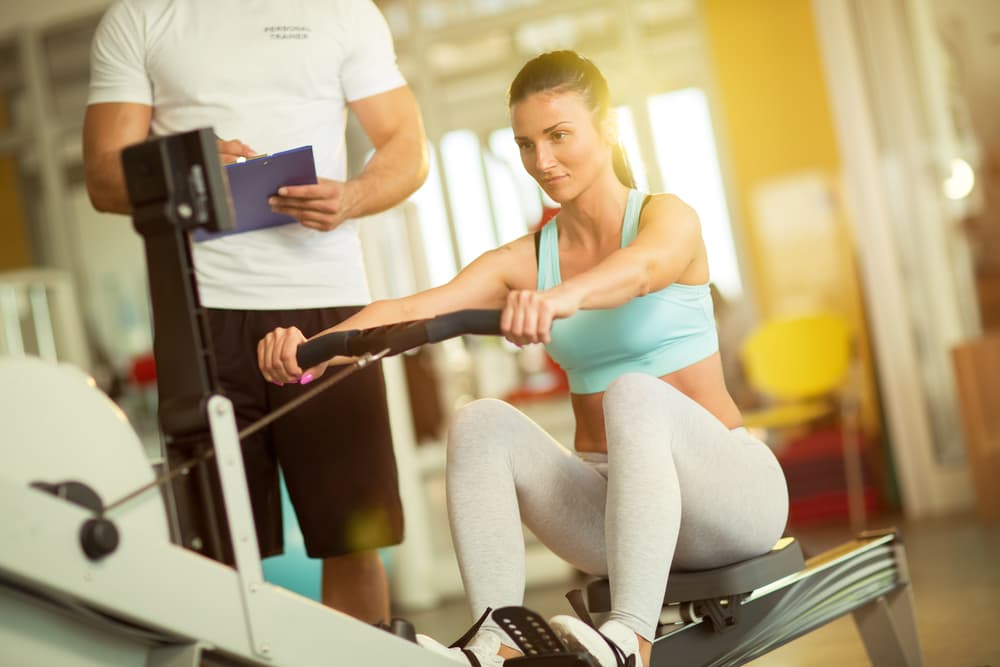
Indoor rowers generally require more learning time than other cardio machines like bikes or treadmills. But with practice and perseverance, you’ll master the indoor rowing machine technique.
You need to know the phases of a rowing stroke, proper form and body positioning to be better at rowing. Avoiding some common rowing mistakes can also improve your performance.
To help you out, I’m providing a guide on how you can practise your rowing skills.
I also listed some errors to avoid and ways to solve them.
How to Master the Proper Rowing Form
One thing unique about rowing machines is that they work based on your movement and effort.
It’s not like a treadmill that will make you jog or run, depending on its speed setting.
With rowing, it’s all you. That’s why you must learn proper indoor rowing techniques from the get-go.
Otherwise, poor rowing will become a habit and harder to correct. It will also deprive you of several rowing machine benefits.
Knowing how to row correctly takes time and practice, though. So, be patient.
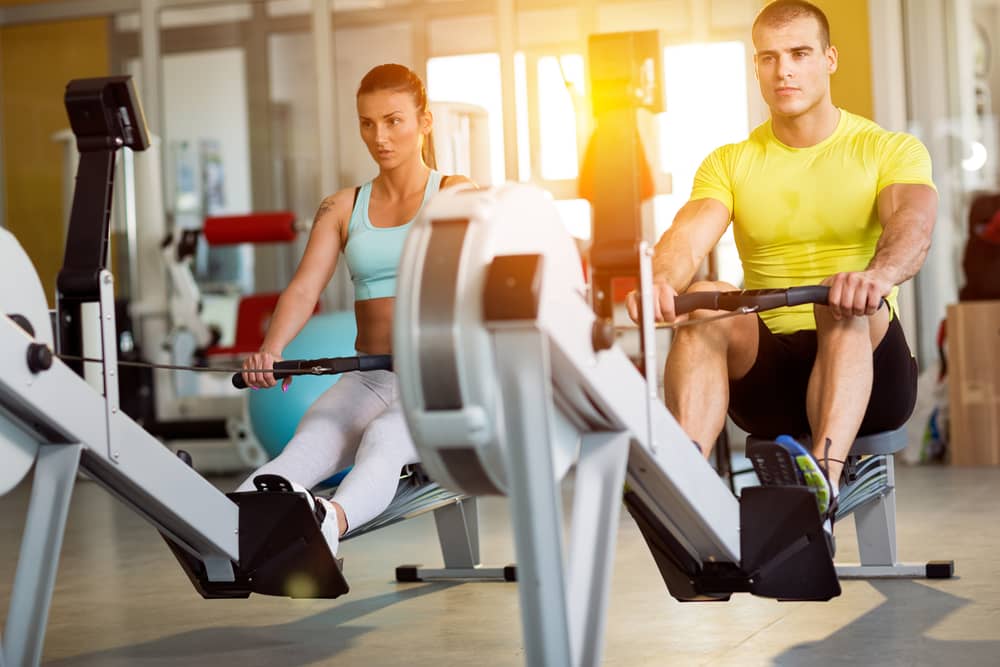
Let’s break down the rowing stroke into steps and highlight correct body positioning for faster learning.
Step 1: Start with the “catch” position.
- Head and shoulders: Both should be level and relaxed.
- Arms: Keep them straight while holding the handlebar with an overhand grip.
- Upper body: Lean forward a bit to the 1 o’clock position.
- Knees and shins: Bend your knees, while your shins should be vertical.
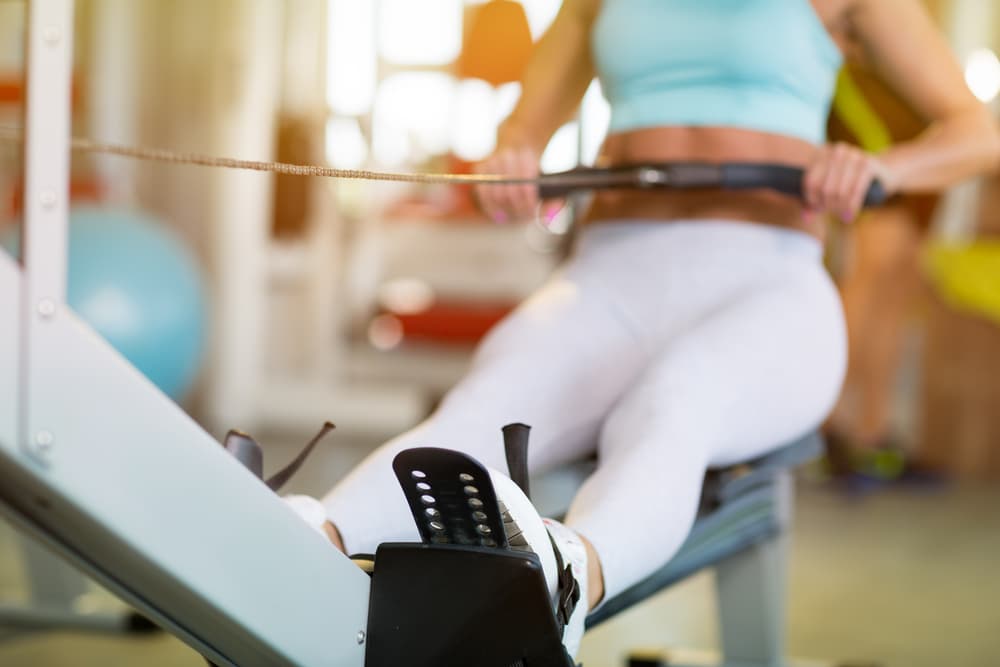
Step 2: Perform the “drive”.
- Legs: Push yourself away from the base using your legs, extending them fully.
- Upper body: Once your legs are straight, hinge at the hips and lean your upper body back to 45°.
- Arms: Pull the handlebar towards your lower chest, a few inches above your belly button.
Remember that the drive happens in a fluid motion, following this sequence: legs, upper body, and arms.
Practice this movement by pushing yourself along the rail back and forth with your legs only.
Next, include the 45-degree body lean after pushing with your legs. Finally, add the arms to put it all together.
Step 3: Get into the “finish” position.
- Legs: Both should be straight and extended.
- Upper body: It should be leaning slightly, with your shoulders down. Use your core muscles to support your upper body.
- Arms: Bend these at chest level.
- Hands and wrists: Hold the handle below your ribs (solar plexus). Relax your grip and keep your wrists flat.
One way to master this indoor rowing machine technique is to practice your arm motion only.
Keep your legs extended, then lean your upper body slightly.
Then, use your arms to pull and release the handlebar a few times.
Step 4: Perform the “recovery”.
- Arms: Extend them until they are straight.
- Upper body: Slightly lean forward from your hips.
- Legs: Bend your knees once your hands have passed them. Then, use your legs to slide the seat forward and return to the catch position.
Common Rowing Mistakes to Avoid
To refine your indoor rowing machine technique more, here are some mistakes you might commit at every phase of the stroke.
Follow the suggested solutions to correct or avoid them from now on.
Mistakes during the “catch” phase
You hunch your back.
When you do not start with a straight back, your shoulders will take most of the load.
SOLUTION: Maintain a proper posture. During the catch phase, push your shoulders back and keep them down.
For a straight back, keep your core tight and breathe deeply.
You flop your knees wide.
This habit happens when you are too relaxed during exercise.
You may not target your inner thigh muscles or hip flexors if you drop your knees too much to the side.
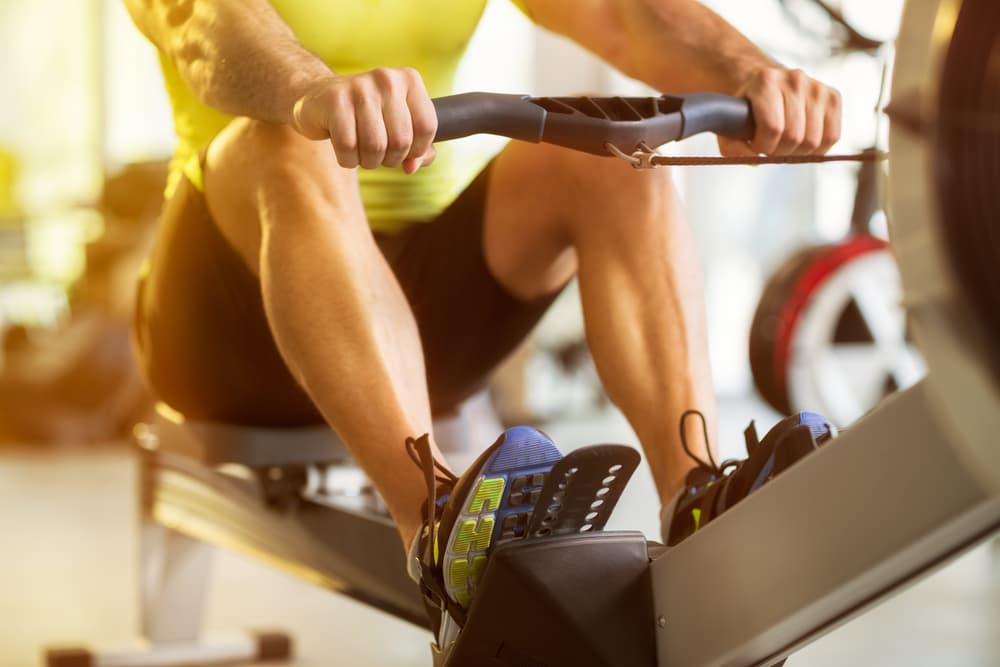
SOLUTION: Keep your knees in line with your hips. Also, try putting the footplate strap over your big toe joint.
Correctly strapping your feet should keep your knees close together.
You hold the handlebar incorrectly.
This mistake has several types. For instance, some will hold the bar too hard, with all their fingers wrapped around it.
A death grip like this will only give your forearms unnecessary stress.
On the other hand, some will only have the first finger knuckles wrapped around the bar.
Others will use the underhand instead of the overhand grip, too.
SOLUTION: Keep your second knuckles facing forward when wrapping your fingers around the bar.
Let your thumbs rest on the underside of the handle.
Also, use an overhand grip and keep your wrists straight to avoid injury.
Mistakes during the “drive” phase
You pull too hard with your arms first.
If you pull too early and with a lot of force, you are straining your arms too much.
Remember, your legs should be doing most of the work when rowing.
SOLUTION: Keep your arms straight, then wait for your knees to pass the handlebar as you push with your legs.
It’s your signal that you can now bend your arms and pull the handle towards your lower torso.
To master the indoor rowing machine technique, remember the correct drive sequence: legs, upper body, and arms.
Mistakes during the “finish” phase
You push your shoulders up as you pull the handle.
When you do this, your shoulders become close to your ears, you bend your wrists, and your arms look like wings.
SOLUTION: Keep your shoulders down throughout the rowing motion.
Your elbows should stay close to the side of your body, too. That way, your wrists remain straight.
You lean back too far.
Avoid leaning your back as if you’re lying down the rail. If you do this, the recovery phase becomes harder.
SOLUTION: Maintain a 45° upper body lean or an 11 o’clock position.
Try doing the isolation exercise to perfect your leaning hip angle.
You pull the handlebar too high.
You don’t want to hurt your neck or face when you pull the handle towards you.
This mistake also means that you’re using more pulling force than necessary.
SOLUTION: Position the handle below your chest, around the solar plexus.
Also, instead of your arms, use your upper back muscles more to pull the bar towards you.
Mistakes during the “recovery” phase
You make a scooping motion when going back to the catch position.
This error tends to happen when you bend your legs too early.
You raise the handle (as if you’re scooping) to avoid hitting your knees.
SOLUTION: Keep your legs straight, then wait for your handlebar to pass your knees.
It’s your signal that you can now bend your legs and push yourself forward.
Avoid this mistake by remembering the correct recovery sequence: arms, upper body, and legs.
Other Tips for an Improved Indoor Rowing Machine Technique
Apply these to your rowing practice for better results.
- Record yourself when doing your rowing strokes. It will be easier for you to compare your performance with video demos online. Better yet, show your video to a rowing expert and get advice.
- Go for long, efficient strokes. Short strokes mean you pull too hard and do not slide as far back as you can. Rowing is not about speed. It is to push your body as far as possible and make as many muscles work.
- Use your legs as your rowing power source. When rowing, force should come from the legs first, the upper body second, and the arms last. Following this power distribution protects you from injury or feeling tired too soon.
- Breathe properly. Exhale as you drive back, then inhale as you recover forward. When rowing, you should not be out of breath. If you do, that means you’re going too fast. Make sure your heart rate is up, but you can still hold a conversation.
- Maintain a steady pace. Try imagining yourself rowing in the water. When you make jerky movements, you’ll create large waves that can flip your boat. So, move smoothly with consistency. Picture yourself as an upside-down pendulum, ticking back and forth.
Conclusion
Using a rower to burn calories and tone muscles may be tricky for first-timers.
But as they say, a rowing journey of a thousand miles begins with a single stroke!
So, keep practising. Take time to nail your indoor rowing machine technique and reap the benefits soon.
One final tip: practice with a rowing machine type that you like. You’ll perform better and feel comfortable while practising with a machine that suits you.
Check the rower reviews and buying guides to know what to look for when getting an indoor rower.
Related Questions
1. How long does it take to improve my rowing skills?
The rowing progress rate varies from person to person. But experts say that it takes a minimum of 8 weeks, with two indoor rowing workouts per week, to see significant developments.
2. What is the best rowing machine for beginners?
Generally, a quality indoor rower with magnetic resistance is best for beginners. This type is more lightweight, compact, quiet, low maintenance and reasonably priced than other similar machines. But any rowing machine type suits newbies as long as it matches their needs, preferences and budget.
3. Is 30 minutes enough to see the rowing machine results?
According to Harvard Health Publishing, a daily 30-minute moderate rowing routine can burn 210 to 294 calories, depending on body weight. This caloric burn is enough to start noticing results within 3 to 4 weeks. But your progress is more evident after weeks 6 to 8.